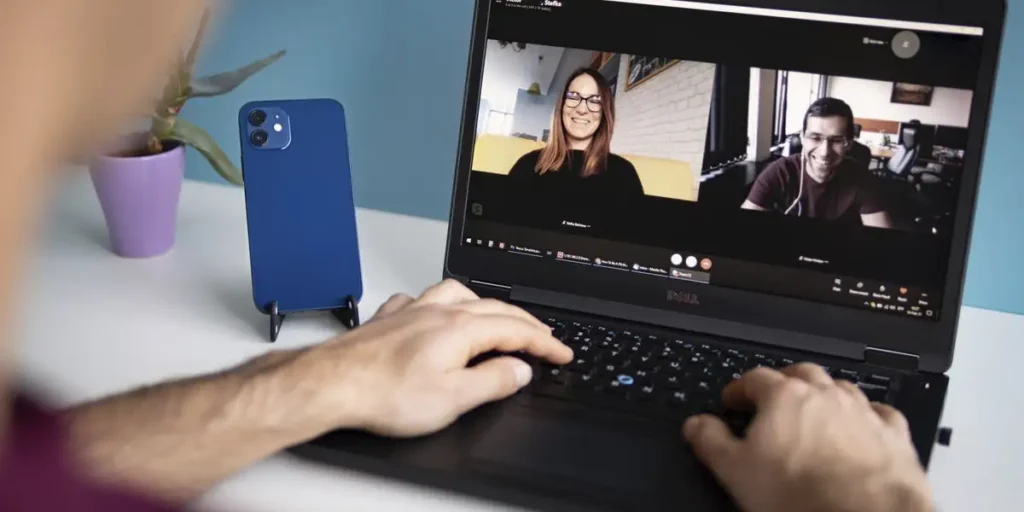
Currently, Videochiates are part of our day by day, Or to work, study or simply talk to family and friends. However, They cannot always be performed by a PCWell, not all computers have access to a webcam.
The good news is that, thanks to the technological progress, It is no longer necessary to buy a webcam To perform video calls from a computer. If you have an Android mobile, you can easily turn it into a webcam For Windows 11 and improve the quality of the image of meetings or recordings.
In this article we will explain how to do it step by step Using the official Microsoft tools: the Windows connection app on Android and the mobile connection program in Windows 11.
Furthermore, We will see an important detail that could influence you If you use a laptop, Which? WELL If you have an integrated webcamBut its quality leaves a lot to be desired, It will be necessary to disable so that the system uses the mobile camera.
What do you need before starting?
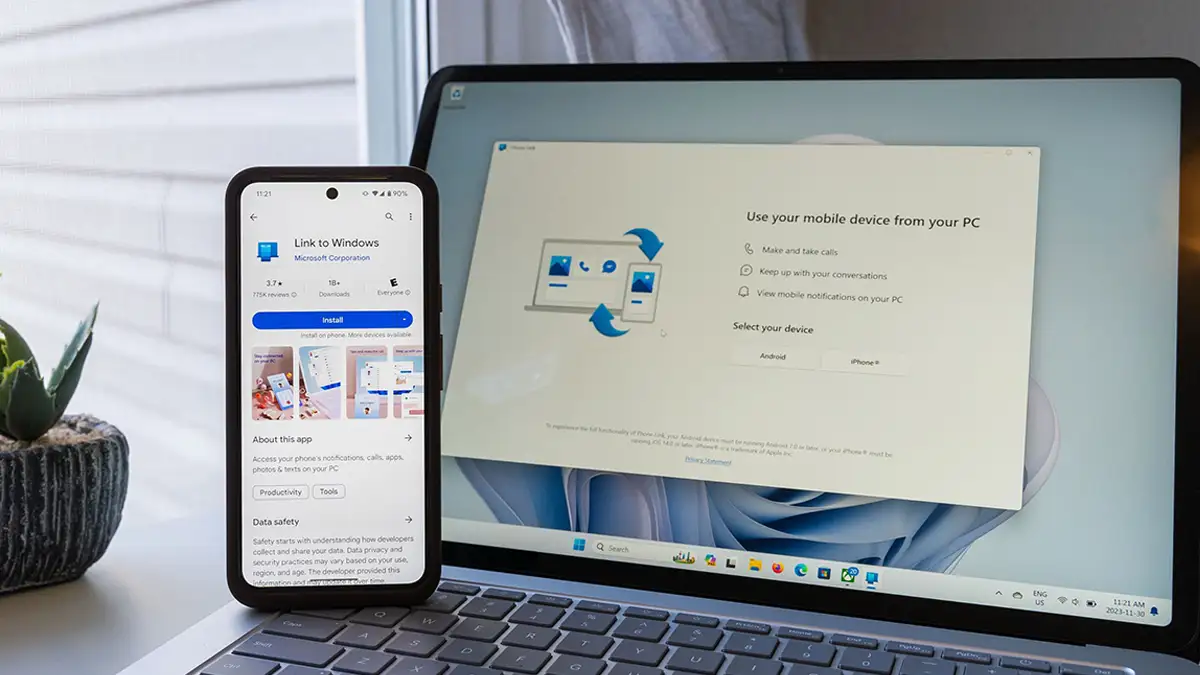
Before configuring your Android mobile phone as webcam, There are some requirements you need to meet so that everything works correctly.
First of all, Your computer must have the latest version of Windows 11 (Must be updated), since the most recent mobile connection functions are available only in modern versions of the operating system.
On the other hand, on the mobile phone You will have to install the application called Link to Windowsthat you can download for free from the link we provide at the end of this paragraph.
Also, it is important that Both your mobile phone and the computer are connected to the same wi -fi networkBecause the system uses this connection to make the real video transmission.
Connect the phone to the PC via mobile link
Once the Windows Link app is installed on your mobile phone and you have shown that both the terminal and the PC are connected to the same wi -fi network, You have to connect them following these steps:
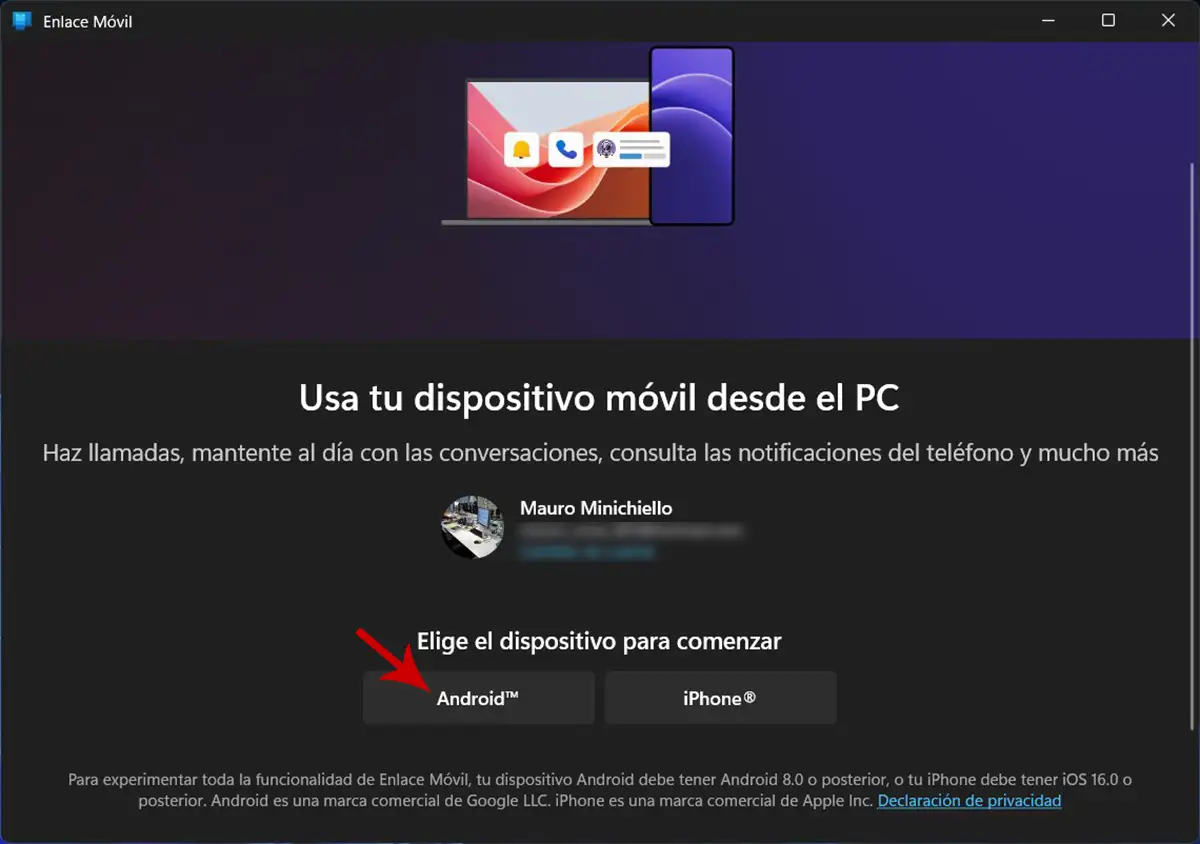

- Open the program “Mobile link” On your computer (you can use the search engine located in the application bar to find the program).
- Select the option you say “Android”.
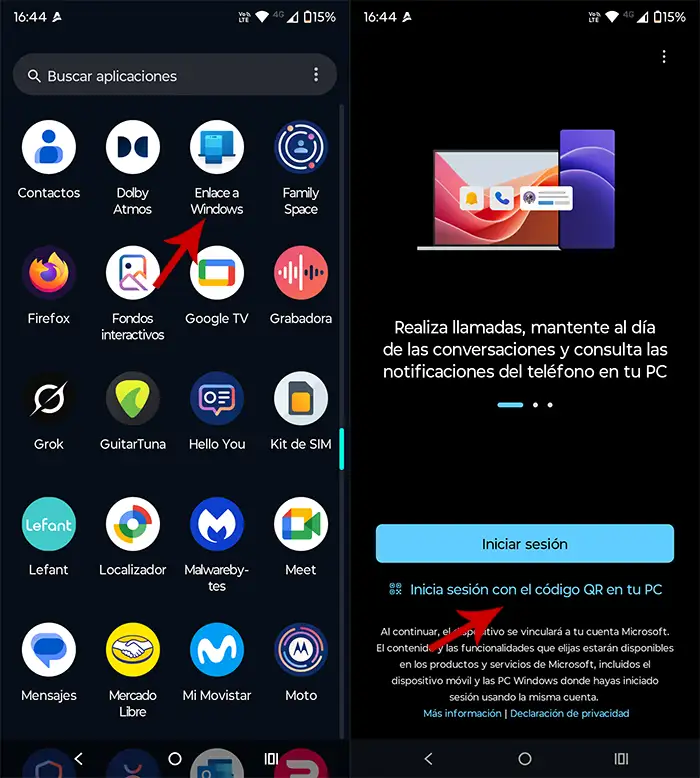

- Therefore, take the phone and open the app “Enlarge a window”.
- Click on the option you say “Log in with the QR code on your PC”.
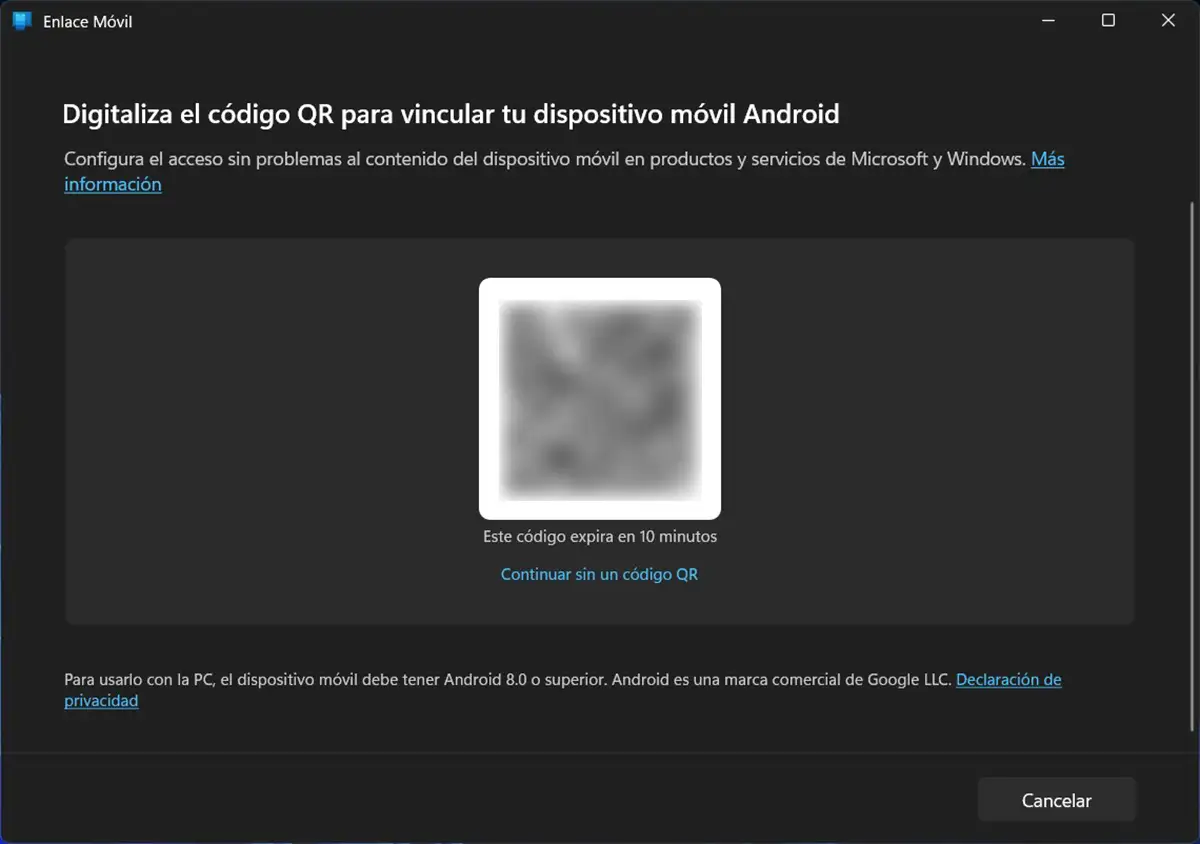

- The mobile connection will generate a QR code that you have to scan with your cell phone camera.
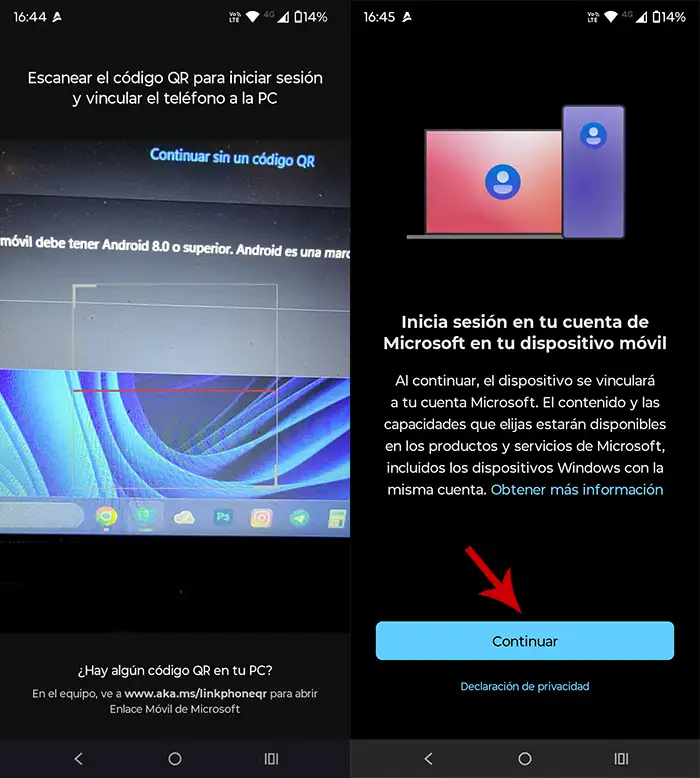

- Scan the QR code This appears on your PC screen.
- Click “Continue” To access with your Microsoft account.


- Finally, Write the code shown on your PC In order to connect both devices.
Once this is done, Your mobile phone will connect to the computer and you can use all the functions which offers mobile links: Transfer without cable files, check the phone with the mouse, manage notifications and, of course, use the camera as a webcam.
So you can use your Android mobile phone as a webcam on Windows 11
So that Windows 11 detects your mobile camera And use it as a webcam, it will not be enough to connect both devices, because you will have to perform a series of steps. Don’t worry, starting this function is simpler than it seems:


- Enter the Windows 11 configuration: Press the keys “Windows + i”.
- Within the operating system settings, you need to click “Bluetooth and devices” (In the left side menu), then enter the section that says “Mobile devices”.
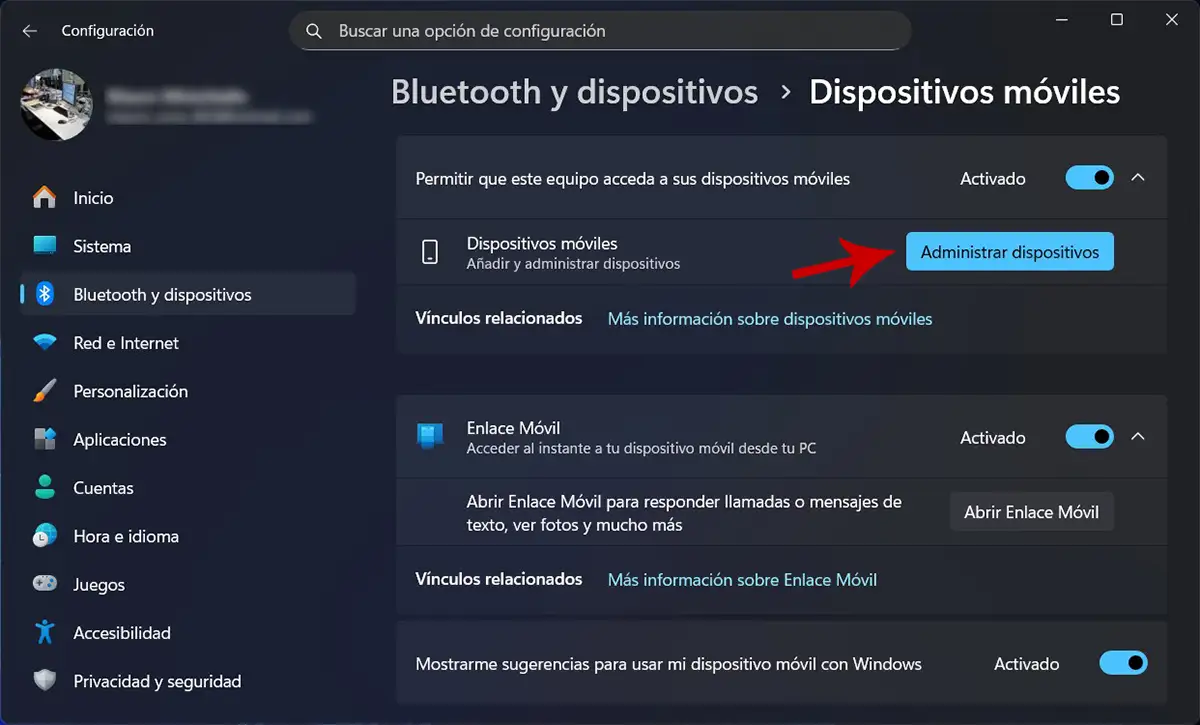

- Therefore, you must click on “Administrator of devices”.
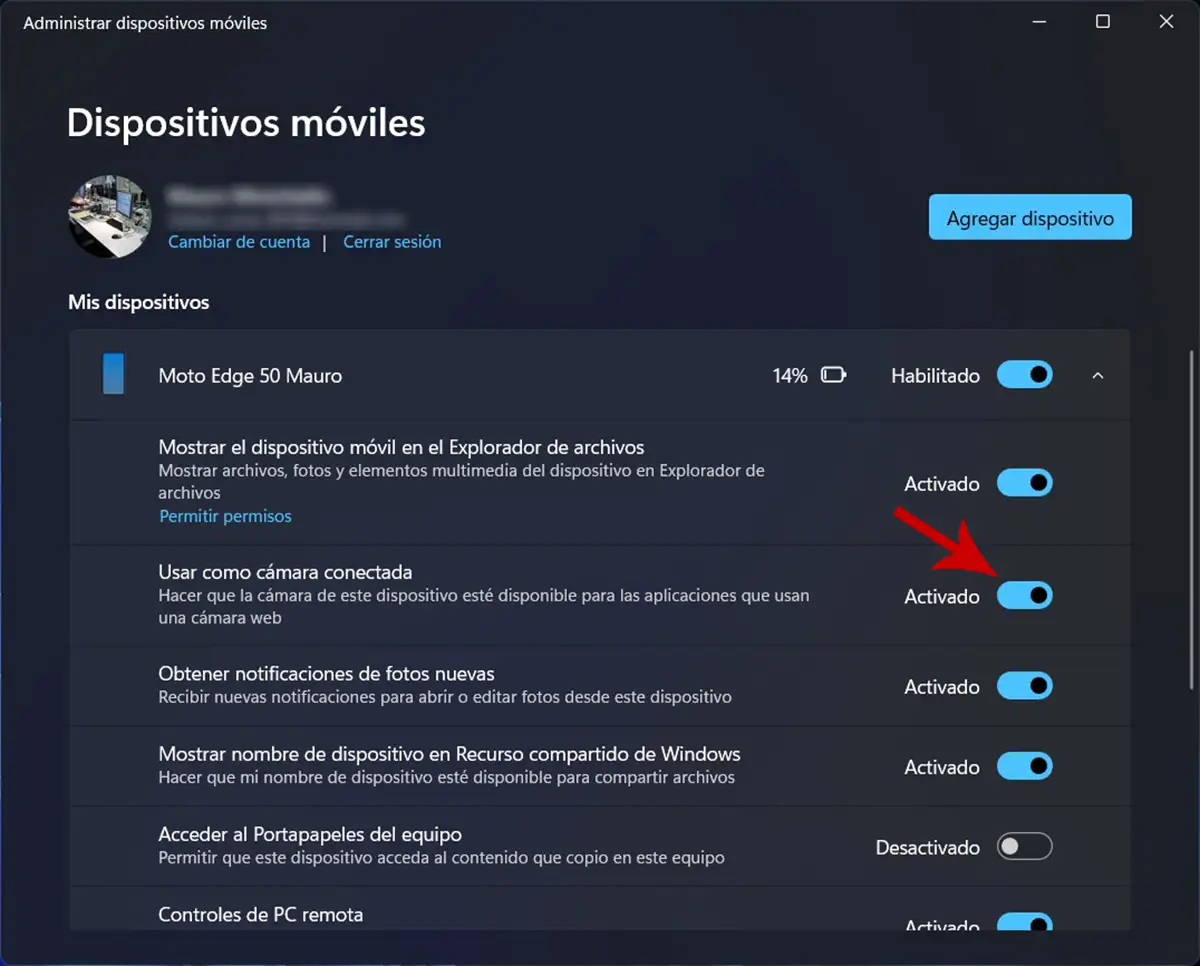

- Different functions will be displayed, it is important to verify that the tool called “Use as a connected camera” Be active. If it is not active, It is necessary to activate it manually on the button This seems to the right.
Having enabled the function we mentioned in the tutorial, You should be able to use the mobile camera as a webcam In you PC:
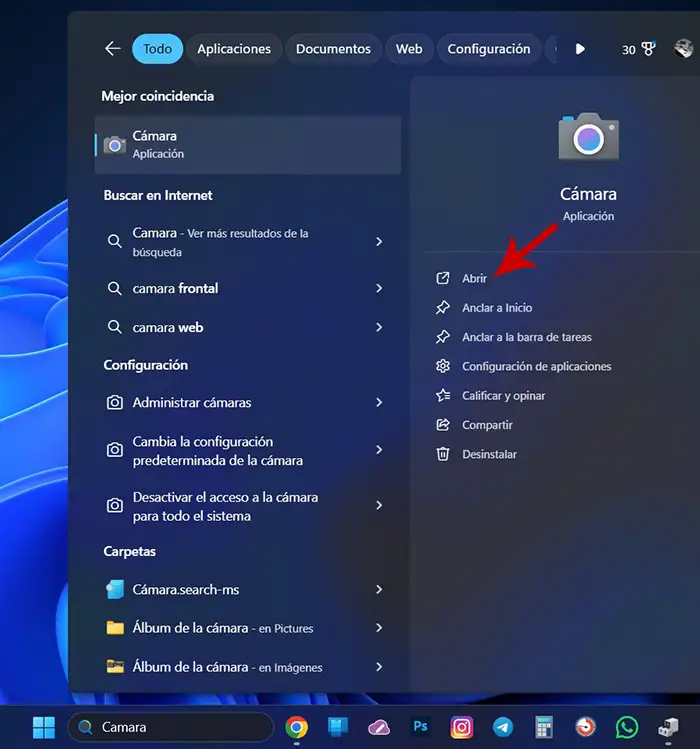

- Open the application “Camera” On your computer. You can find it easily using the search engine shown in the application bar.
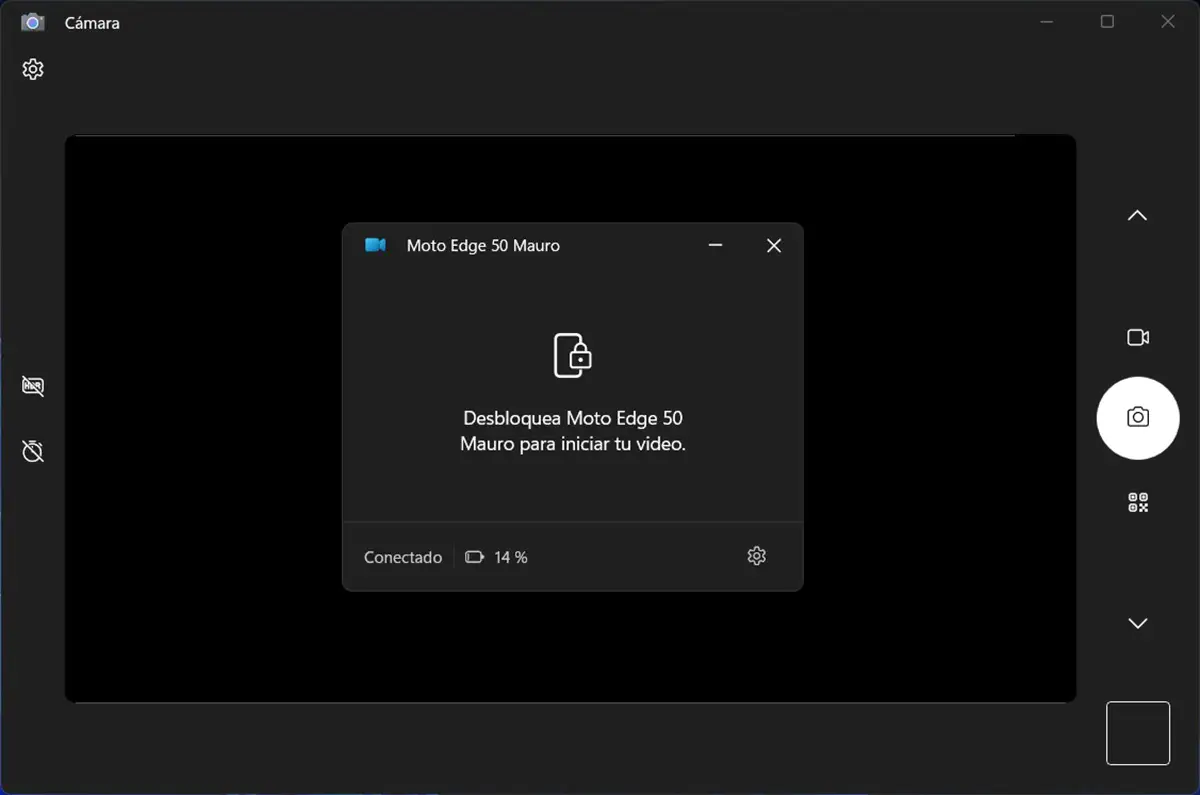

- The application will ask you to unlock your cell phone.
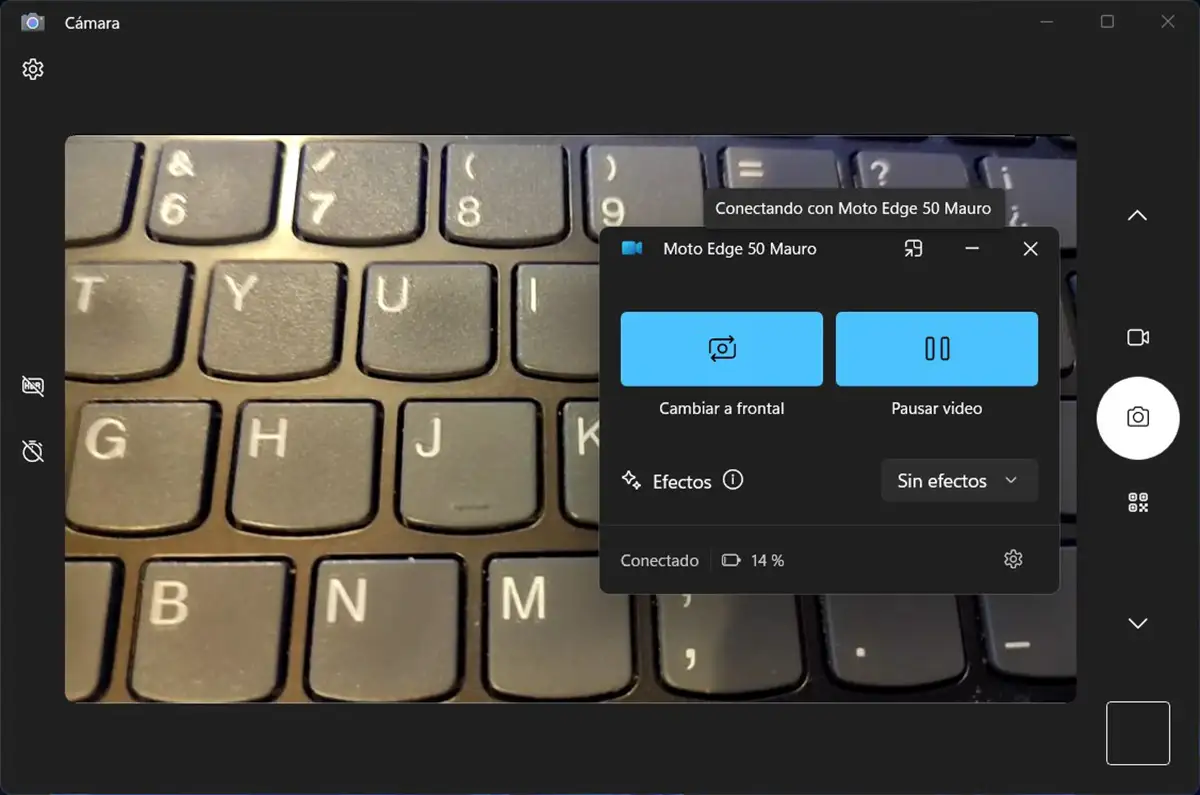

- Once the phone is unlocked, The computer will use the mobile camera. You can choose both the front camera and the rear camera.
What to do if you have an integrated camera laptop?
If you are on a laptopthat is likely to Windows continues to prioritize the internal camera instead of the mobile phone. To avoid it, You can temporarily disable As follows:
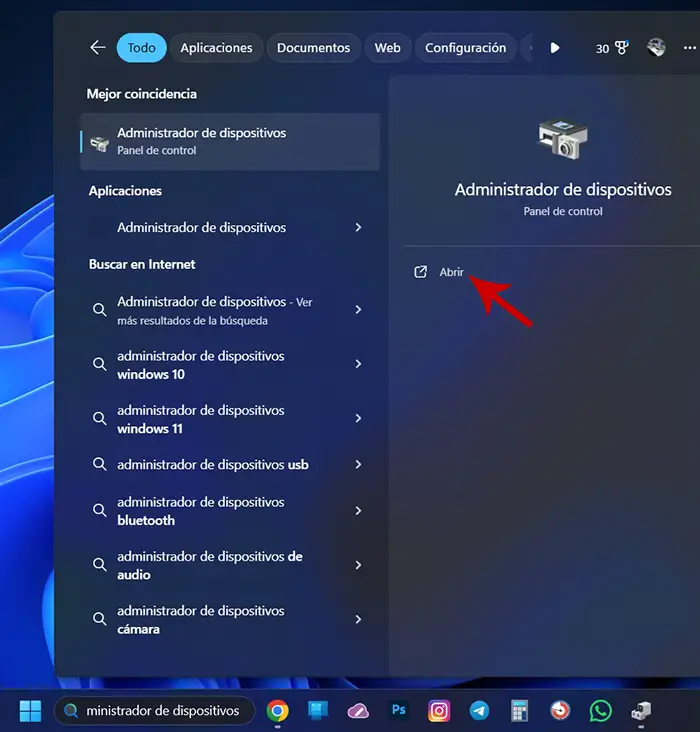

- Open the “Administrator of devices” Through the Windows 11 search engine or press the keys “Windows + X”.
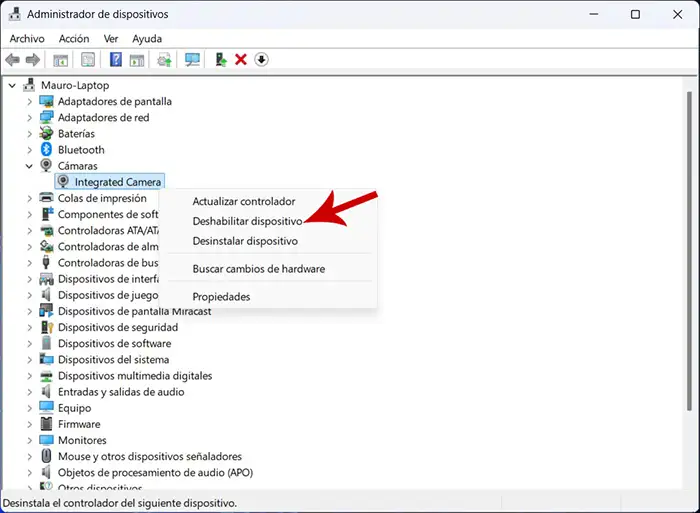

- Search the section of “Chambers” y Click the right button on the integrated camera.
- Finally, select “Disable device”.
With this, Windows will only have the available mobile camera And it will use it automatically. If in the future you want to return to the integrated camera, simply reactivate it by following the same steps.
Without much more to add, keep in mind this The quality of the video transfer will depend on your wifi network. If you experience Microcort when making a video call, the image could pixelly.
