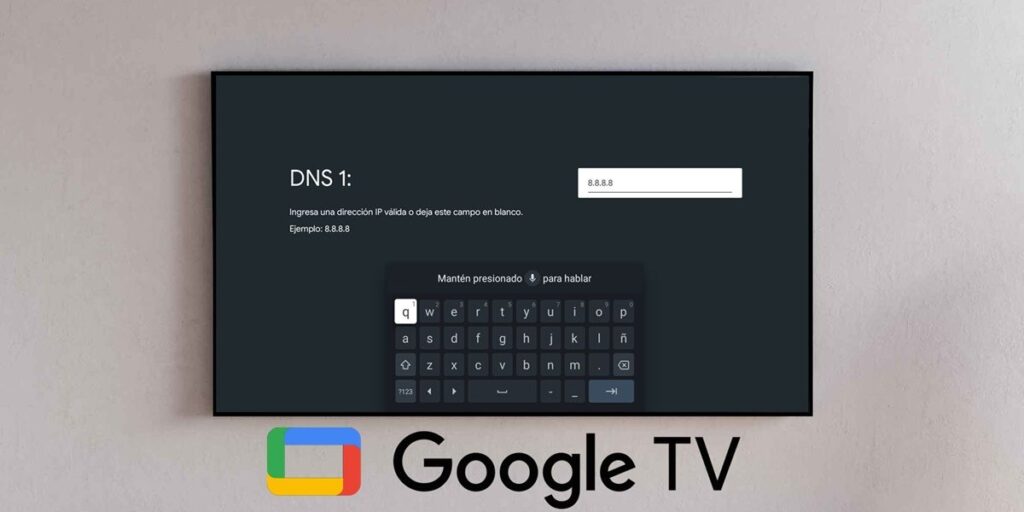
Changing domain name servers, also known as DNS, is a great way to improve your browsing experience, increase privacy, and in some cases, speed up your Internet connection. So, if you get a lot of ads or the internet on your smart TV is slow, here’s a step-by-step guide on how to change DNS on Android TV and Google TV.
Before we begin, let’s make sure that this tutorial is specifically designed for Android-based TVs or TV boxes. However, we have a tutorial to change DNS on Samsung Smart TV that might interest you. Without further ado, let’s get down to business.
Steps to change DNS on Android TV and Google TV
Although Android TV and Google TV are slightly different, they are similar when it comes to DNS settings. So don’t worry about knowing whether your TV has one operating system or another. Follow this step by step to the letter and you will be able to change DNS on your Smart TV without any problems:
Press the gear icon to enter TV settings.

Click on Internet and Network.

Select the WiFi network you’re connected to, and then tap IP Settings.


Google TV will show you the option to change the IP address. On the virtual keyboard, press Enter to not change.

You also don’t want to change the “Gateway”, so press enter again.

It also skips the option to change “Network Prefix Length” by pressing enter.

You will now see the option to enter DNS 1 (the primary DNS). In this example I used Google DNS (8.8.8.8), but you can enter any DNS you want. Here is a list of the best DNS you can use.

After pressing Enter in the previous step, you should type DNS2 (the second one). In my case, I put the second Google DNS (8.8.4.4). When you’re ready, tap Submit.

that’s all! If everything went well, you’ll see a “Saved Successfully” message on the screen. By the way, don’t forget to perform this configuration every time you connect your TV to a different WiFi network.

What is the purpose of changing DNS on TV?
Now that you know how to change your Android TV or Google TV DNS, you’re probably wondering what the benefits of using different DNS are. Well, first of all, you need to understand that DNS is simply a translator that converts domain names to IP addresses. So, if your internet is slow, a different DNS that does this “translation” faster may be the solution you’ve been looking for.
Additionally, some DNS like AdGuard can filter your internet connection, block annoying ads or content that is inappropriate for minors. In addition, a secure DNS does not collect or track your internet activity unlike those provided by your service provider, so we can say that they offer more privacy. This is why it is so important to use a separate DNS on your Smart TV.


