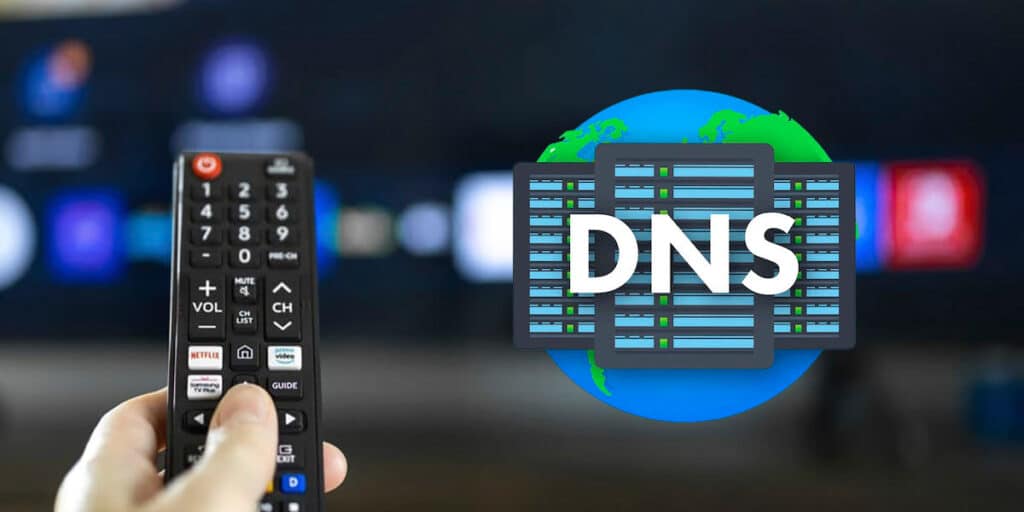
Having problems opening web pages in the browser on your Samsung Smart TV? Don’t despair if websites take a long time to load or images from content streaming platforms you’ve installed don’t appear live on your TV! Perhaps, your internet connection has a DNS problem.
Although this can be fixed directly through the router or modem provided by the Internet service provider, there are times when you may not be able to find a part that will allow you to make this adjustment. In this kind of case, and especially when we talk about smart TVs manufactured by Samsung, it is possible to change the DNS manually and in a few seconds.
By following each of the steps we show you here, you can set the desired DNS to your Samsung TV. Of course, we recommend choosing one of the fastest ones as it depends on how fast you load images, videos and web pages.
This is how you can change the DNS of your Samsung Smart TV.
Whatever needs to be done to change DNS on Android, it’s important to make sure you’re correct when you change it. If web pages load slowly or images of installed applications do not load completely, we recommend that you switch to Samsung Smart TV.
On the other hand, if you use apps like Stremio that allow you to watch paid content for free, you’re practically forced to change your Samsung TV’s DNS, why? Because there is a DNS that automatically deletes any kind of ads.
First, you need to press the cog-shaped button (gear) that controls your Samsung Smart TV. This will display a menu with several options. In this menu you have to access the option called “All Settings”. A new window will open with several sections. Select the “Connection” option and enter “Network”. Click “Open Network Settings”. Select the communication method you plan to use. If you want your Smart TV to connect to a WiFi network, you will have to select the network in question. Go back to the “Network” menu and select the “Network Status” option. Enter the “IP Configuration” section. Click the “DNS Settings” option. A menu will appear with two options, select “Enter manually”. Type primary and secondary DNS and finally click “OK” to save the changes.
If you don’t know which DNS to use, we’ll give you a list of the best DNS below to use their speed when using your Samsung Smart TV.
Google DNS: 8.8.8.8 (primary), 8.8.4.4 (secondary). CloudFlare: 1.1.1.1 (primary), 1.0.0.1 (secondary). AdGuard DNS: 94.140.14.14 (primary), 94.140.15.15 (secondary).
If there is nothing more in this regard, we recommend that you restart your Samsung TV after changing the DNS, how? Press and hold the power button for 10 seconds. This will cause the TV to turn off and turn on automatically (the Samsung logo will appear).


